- File size:
- 8 MB
- Date added:
- Oct 20, 2024 | Last update check: 1 minute ago
- Licence:
- Freeware
- Runs on:
- Revit 2022 / 2023 / 2024
DigiPara Elevatorarchitect is web-based solution for creating elevator and escalator BIM models, supporting a large number of configurations. It offers 2D and 3D views, easy parameter customization for major brands, and access to current elevator templates. The software minimizes errors in elevator modeling and configuration while ensuring up-to-date compliance with standards. Additional features include precise vertical sections, plan views, and machine room details.
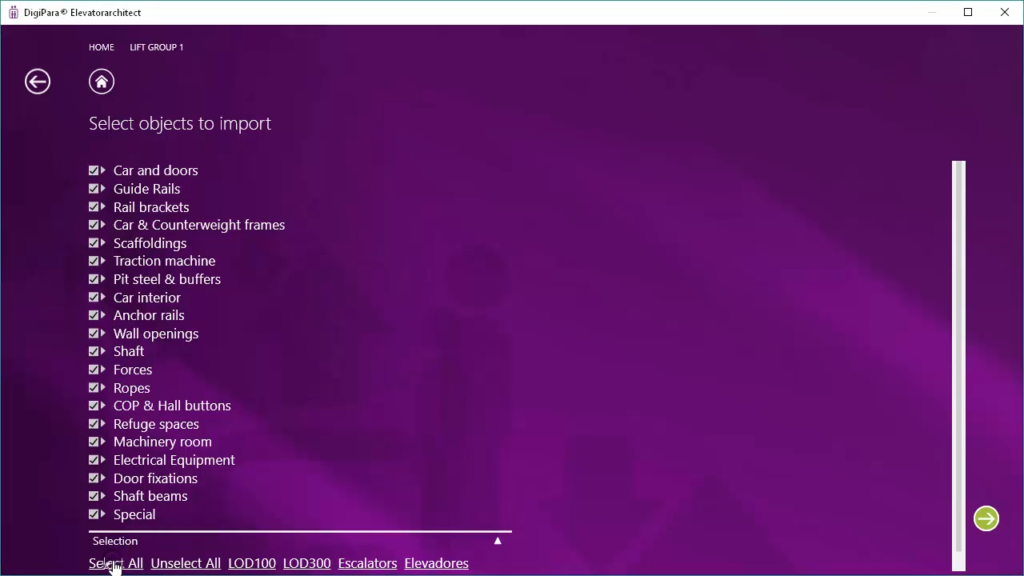
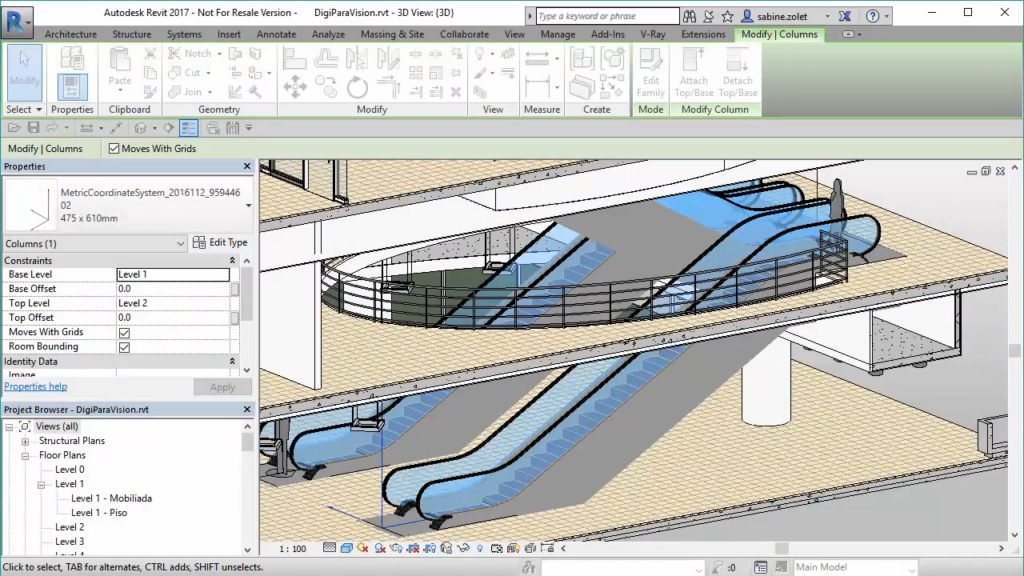
Elevators and escalators in LOD 300. Users can generate simplified LOD 100 models for any elevator series, as well as complete LOD 300 models with detailed specifications for selected series, aligning with BIMForum standards. Escalator models are also available in LOD 300, allowing customization to project needs. The software supports extensive BIM properties like COBie and IFC4, ensuring up-to-date data that includes the latest elevator types and dimensions. For location-specific projects, DigiPara Elevatorarchitect recommends suppliers and facilitates direct quote requests, offering a centralized, efficient way to connect with the right partners and providers.
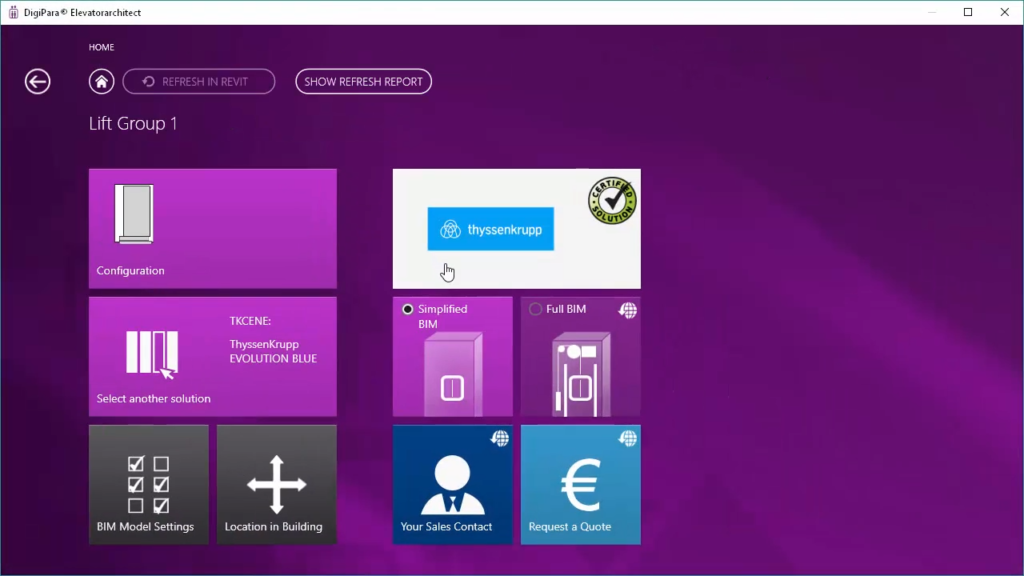
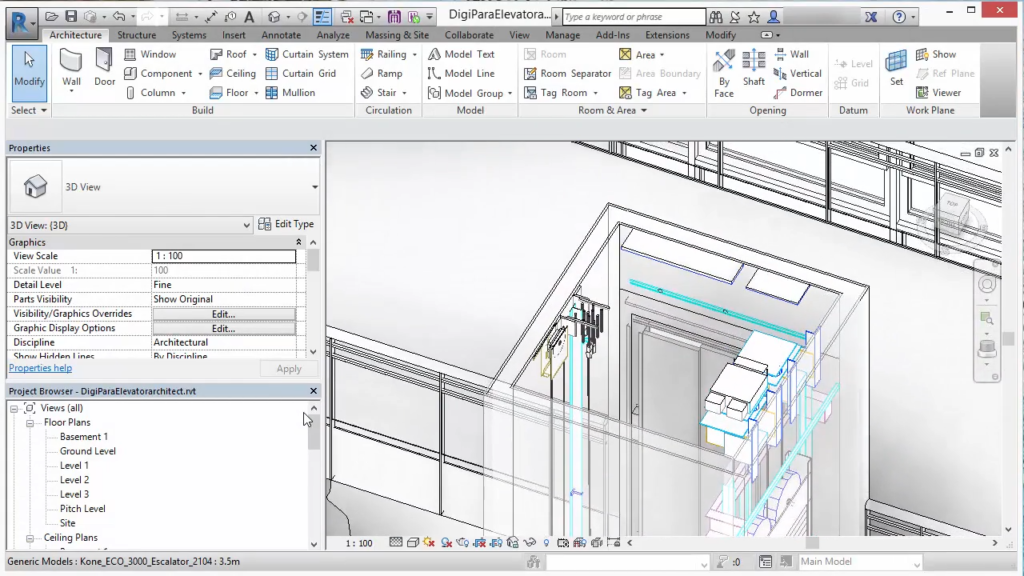
DigiPara Elevatorarchitect integration. DigiPara Elevatorarchitect integrates with Revit through its dedicated add-in, allowing architects to quickly add elevator models into their BIM projects. The add-in enables users to select from a range of elevator configurations, with options for different levels of detail (LOD 100 and 300). It provides customizable parameters for elevator shafts, doors, and car models.
DigiPara Elevatorarchitect plans. The Free plan provides basic LOD 100 elevator models for up to 5 projects. The Individual plan adds LOD 300 models and vertical sections for up to 50 projects. The Team plan allows unlimited users and includes team design and project sharing for up to 150 projects. The Enterprise plan offers custom packages and unlimited projects, along with personalized consulting.
Summary. DigiPara Elevatorarchitect is a comprehensive web-based solution for accurate elevator BIM modeling, intended for architects. It provides customizable models from major brands, integrates updated data and legal standards, and allows access via Autodesk Revit through free plugin.
Typical workflow
Create a new elevator
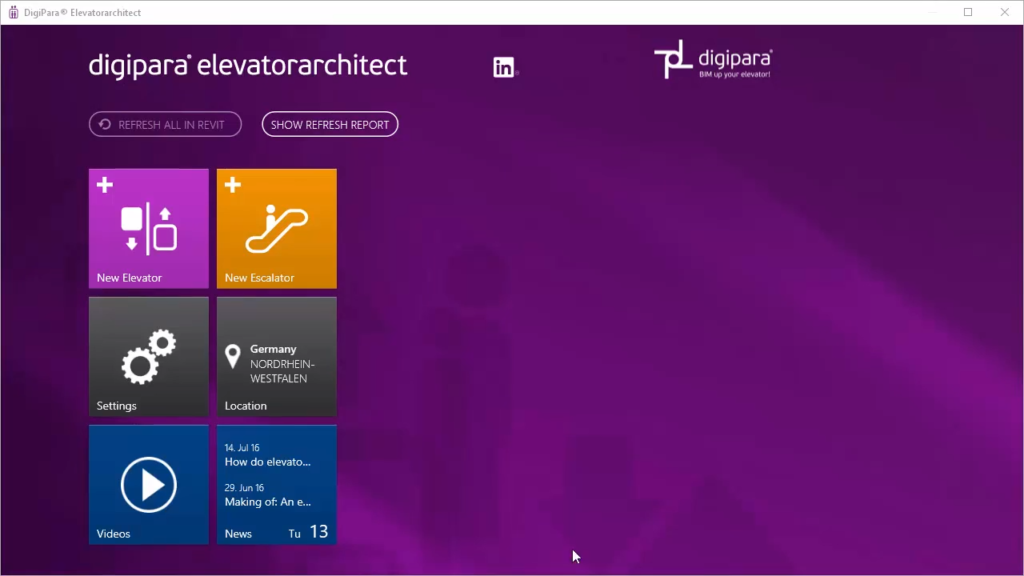
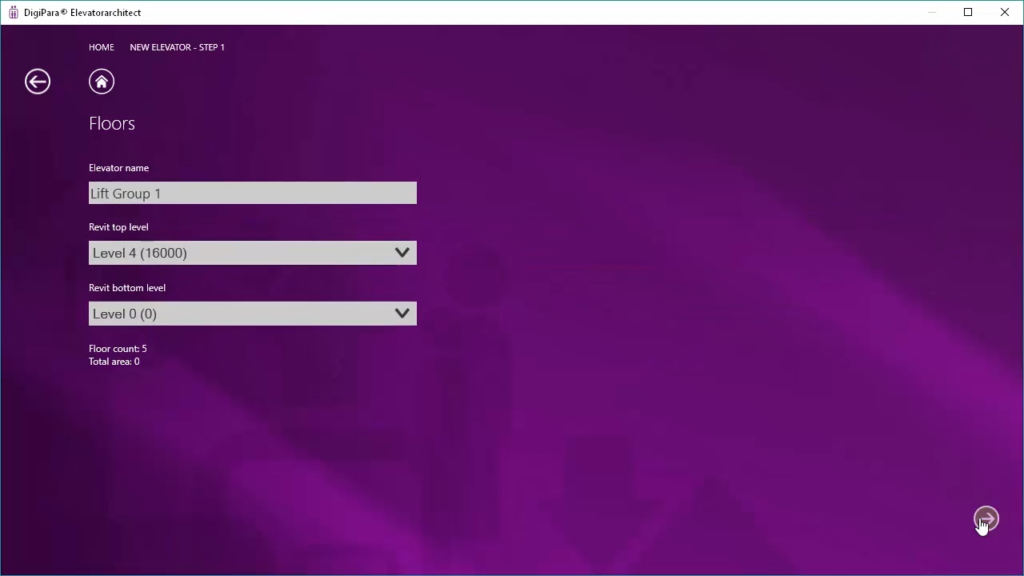
- Start new setup: Go to the “Add-Ins” tab in Revit, select “Elevatorarchitect,” then “New Elevator,” and configure settings like floor levels, payload, and placement.
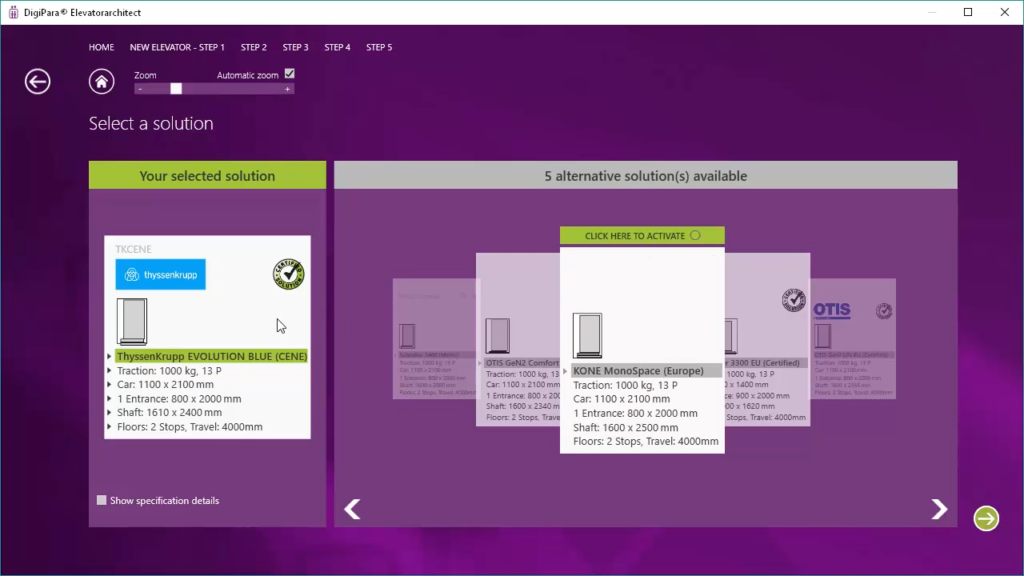
- Customize and select model: Choose and adjust an elevator model from options like Schindler, TKE, or OTIS for simplified LOD 100 geometry.
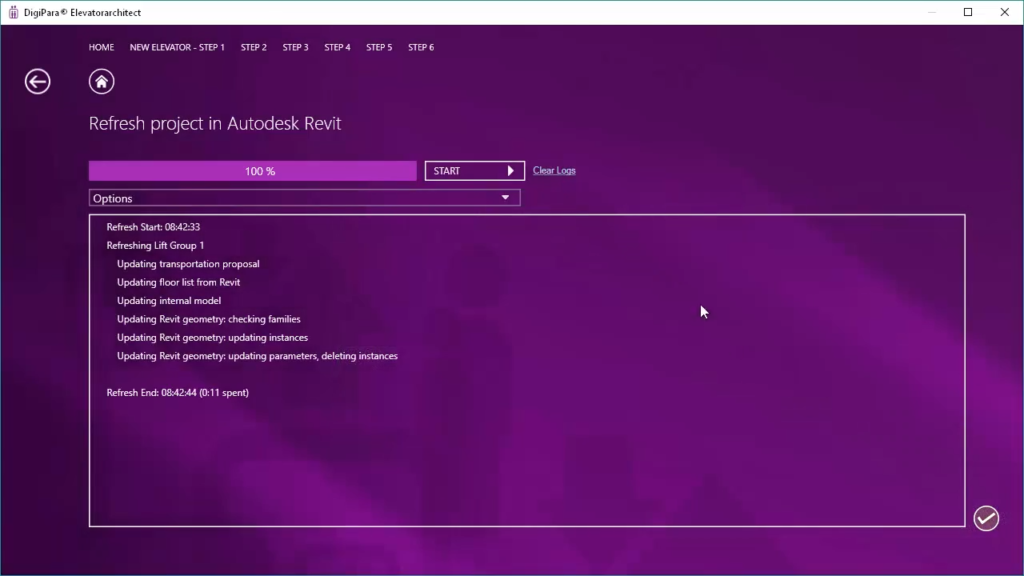
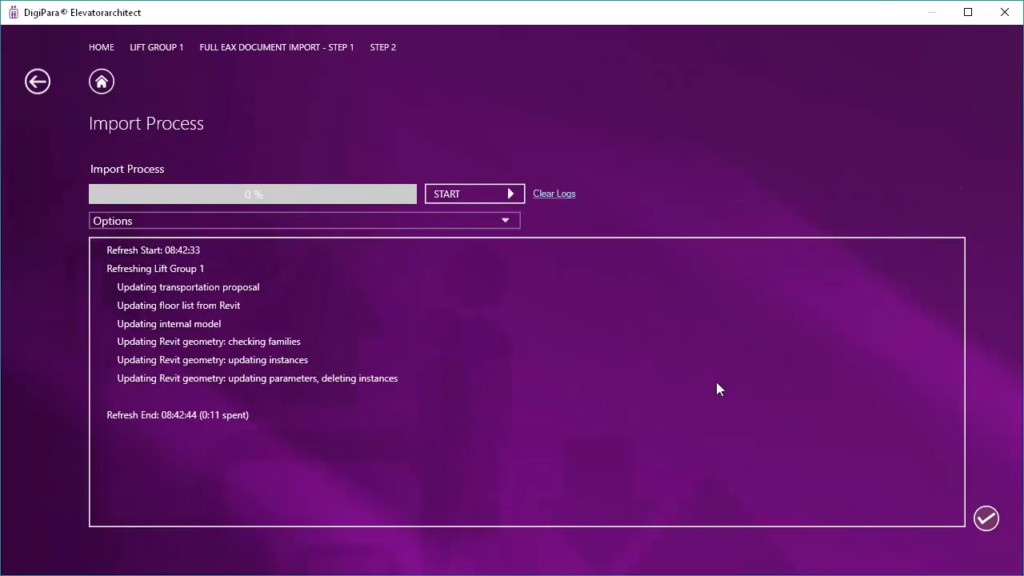
- Import full geometry (optional): For complete LOD 300 models, open the elevator in DigiPara, select “Full BIM,” and import it into Revit for detailed geometry and specifications.
Create a new escalator
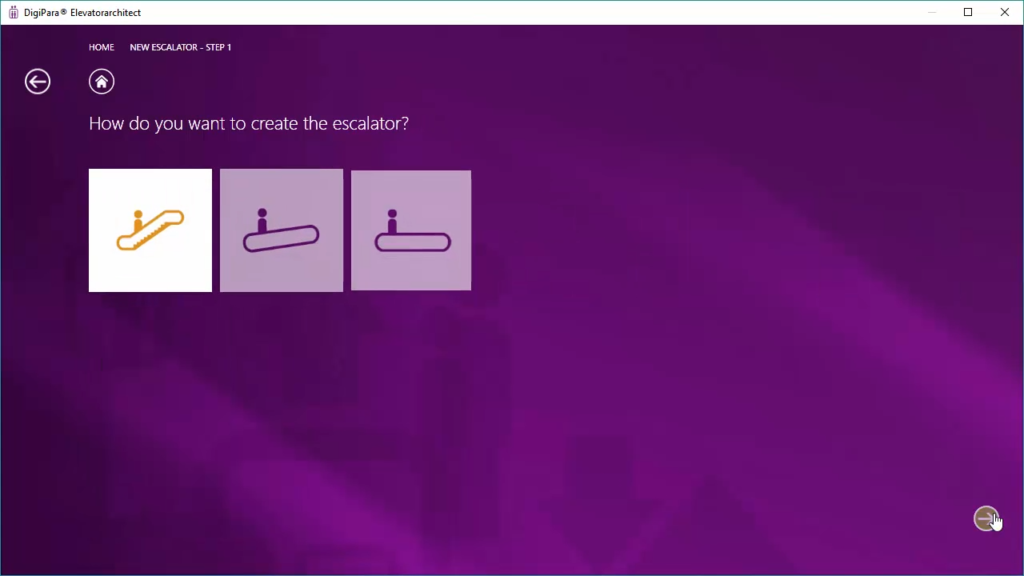
- Begin setup: Select “New Escalator” to start the setup.
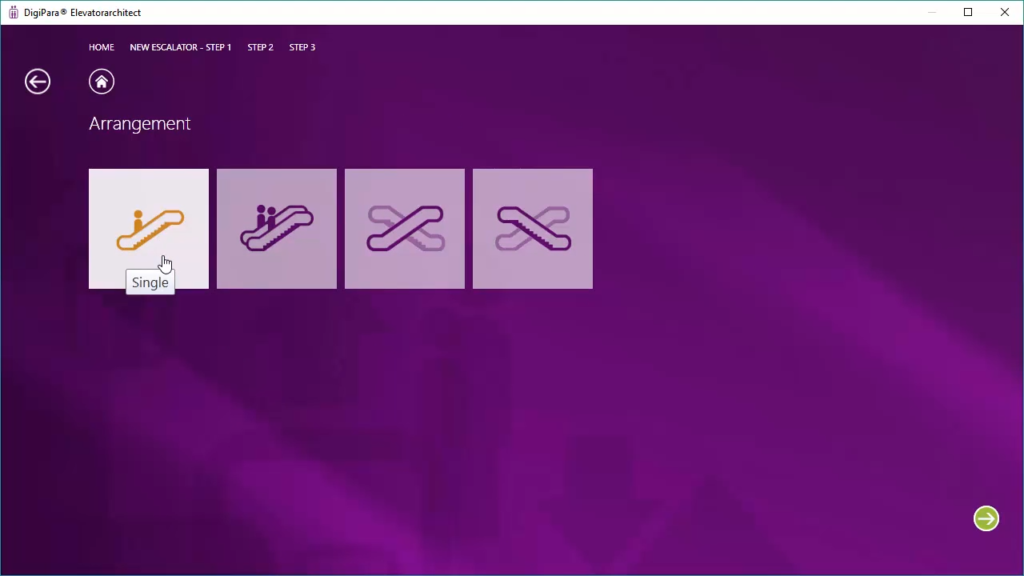
- Choose type: Specify either escalator or moving walk, and configure arrangement (single, parallel, criss-cross, criss-cross-shift).
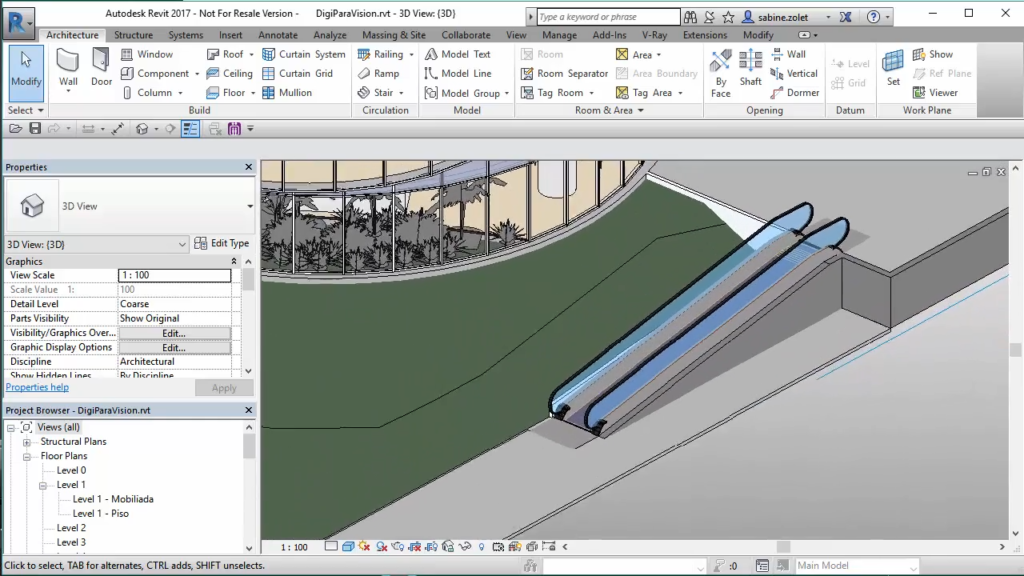
- Finalize model: Place the fully detailed LOD 300 escalator model into your project.
